Thursday, 9 February 2012

WIP Wednesday and being just a little slack...

Not slack in the sense of sitting on my duff doing nothing, but slack in that I haven't done a lot of blog reading nor commenting this week.  Mostly this was because Telstra and I had a little contretemps - they insist that I exceeded my quota re broadband (which is horrendously expensive and SLOW in Oz) and reduced my connection speed to 64 bits per minute (or whatever the damned thing is) - a consequence of this is that the internet takes 10 mins to open pages and it completely gives up the ghost on my mailbox - a new billing month started yesterday so it's back up to speed - but I had a full day of teaching yesterday too (classes in the morning, afternoon and evening - BIG wednesdays during term times) so didn't get round to anything internet related....ooh, sound like a moan but really, just stating what's happened - and then the dog ate my homework....

Today, it's off to the sewing centre to find out why my new machine is giving me conniptions about FMQing, out for drinks tonight with friends and then tomorrow my course starts - phew!

So this is a very quick post of WIP's, a link to Lee's WIP Wednesday on Freshley Pieced, then it's off to the shower, get the laundry out and jump in the car..

This week I finished my Mouthy Stitches pouch..


Did some dyeing...


Made a couple of blocks for Quilts of Hope...


Made the February block for the Quilt Australia Bee..


Got one FWQA block done - Rainbow Flowers..


Started a new quilt (on my Winter/Summer Stitching list) which started out as a garden path block quilt, morphed into a Sanctuary Squares and then when I didn't like the look of either using the fabrics I have (the quilts I've linked are totally gorgeous - their colour and pattern combos totally work), morphed into this...


I think it needs a couple of more rows on the bottom - which will necessitate a trip to the shop for more grey solid (damn!!) and a bit more cutting out and sewing - any suggestions regarding layout etc will be gratefully received.

Then go and have a look at the other linkees - again, some seriously wonderful WIP's being whipped into shape out there (sorry about the lame joke!)

Monday, 6 February 2012

Dyeing to meet ya - or how to become Na'avi in one easy lesson

So I thought I'd dye some fabric - and thought I'd use a paintbrush to apply the dye, rather than soak the fabric in beer cup dye pots, and also thought I wouldn't need gloves.....

...and you know what thought does to you - oh dear - after the dyeing session my husband asked me when I was joining the cast of Avatar on Pandora - I had blue dye everywhere - my hands, feet (I had flip flops on), forearms (I dye outside and the mozzies were fierce yesterday), down my pj's (because I didn't get dressed until much later in the day - and only then when we had a few friends drop in...) but I did have fun.

I was using the painting technique I thought I'd seen on Deborah's blog - but I've since found out that Deborah uses fabric paint and I used procion dyes and a large paintbrush - oh well, still loved the process - even though it was a bit messy.  I only mixed 2 colours, blue and black, and after 'painting', rinsing, drying and ironing, I have 8 FQ's of fabric ready for a new idea I have brewing...

This fq was used to wipe up all the dye on the table after I'd slopped it around a bit
For this effect, I splodged blue dye all over the FQ and then threw large salt crystals on the wet fabric - the salt protected areas of the fabric creating this mottled effect, which reminds me of whale shark skin
for this one, I painted stripes of blue and overpainted some with the black.  I then 'wiped' the brush between the stripes without reloading the dye

This one was 'striped' all over and black splodges added
For this one, I simply put dye all over the FQ, including a little of the black and the paler marks were created by the fabric lifting off the table
The remaining FQ's are more of the same.  I think I'll do another 8 using different colours - red/yellow maybe, or red/turquoise.....must get some more PFD fabric and soda ash....

In the meantime, my new Janome Horizon is having a bit of a spak attack with FMQing and I have a date with the Sewing centre I bought it from on Thursday - hopefully it will be sorted out and I can catch up with Laura's QAYGFMQQA asap...

Mouthy Stitches pouch swap - 'Mulleting around the twist' - finished!

The pouches showing up on the Flickr site for this swap are amazing - the expertise, skill and inspiration evident from all the swappees is amazing - and their willingness to go that extra little bit in terms of finish is just awesome...I'm in some seriously amazing company...so obviously all stops needed to be pulled....

I stalked my secret partner - examined her mosaic, read up on her blog and carefully monitored her comments on photos in the group - and concluded my partner has eclectic tastes - I concluded a few other things too but if I write them down, it'll be very easy to identify her - so I'll keep those to myself..

From there I shared a few ideas, some of which weren't enthusiastically received, so changed things around, added some other colours, took some out, thought a bit more......and came up with 'Mulleting Around the Twist'.....


The front is reasonably formal, a little pleating (with a few buttoned up twists), a little stitchery.....but......in true mullet fashion, there's a party going on in the back...


A whirlpool of patterns and a tickertape 'Sew around the twist'.

The inside is fully lined...


So on the days my secret partner feels a little formal or in need of a little calm, the front of the pouch can be facing her - and the little twists can entice her to do a flip and have a party, if that is her want - best of both worlds?

I really hope my partner likes it - it was fun to do, a bit of a challenge and now all that's left is to add some scraps and get it in the post.

Friday, 3 February 2012

Quilts of Hope

Last month I received an email from Deborah who asked me whether I would make an 8" block which would be joined with other blocks, from other donors, and be made up into a quilt which will be raffled to raise money for Deborah House and Missio Link International.  Any remaining blocks will be made up into quilts for the girls who attend Deborah House.

I don't know Deborah - so I looked up the websites and decided making an 8" block or 2 would be a nice way to help.  Of course it wasn't until I was virtually sealing the envelope to send them that I wondered whether it was 8" finished or unfinished..........so a quick look at the conversation link and I found out it was 8" finished - damn - back to the sewing machine and I whipped up a couple more, the correct size this time.  Apparently I wasn't the only one who made the mistake so luckily, Deborah can use both sizes - she'll just put the 7 1/2" finished blocks together in a quilt.

So, if you have a spare 8" block hanging around, or you feel a bit crafty and can whip one up, details of where to send them are on this website, Quilts of Hope.


I made 2 very simple 'autumn tints' blocks.  The larger patches are cut 4 1/2" x 4 1/2" and the smaller ones are cut 2 1/2" x 2 1/2" - easy peasy and great use of those scraps.

Thursday, 2 February 2012

Wednesday, again??? - and it's now Thursday even...

These weeks are sneaking up on me - can't believe it's WIP wednesday again - which was actually yesterday - so 'Thought it was Wednesday Thursday' then?

I haven't even redone my WIP list, so it's going to be a bit of mish-mash til I can get myself organised.

I had a couple of finishes...

from the UFO bin - gift for a friend who will faint when it's presented!
I finished my mouthy stitches pouch but I can't show it as it's a secret - but I can show a detail of it...

...and a I wrote a tutorial as to how to do the twists - it's my previous post
I did some more on my hexy quilt border..


I made a couple of blocks for the Cherish do.good stitches February quilter...


love this - might have to make a quilt myself!
I made another little mug bag to show my wednesday ladies that you can make the little bag with whatever scraps you have leftover...

and forgive me, I stitched a little counted cross stitch teacup...
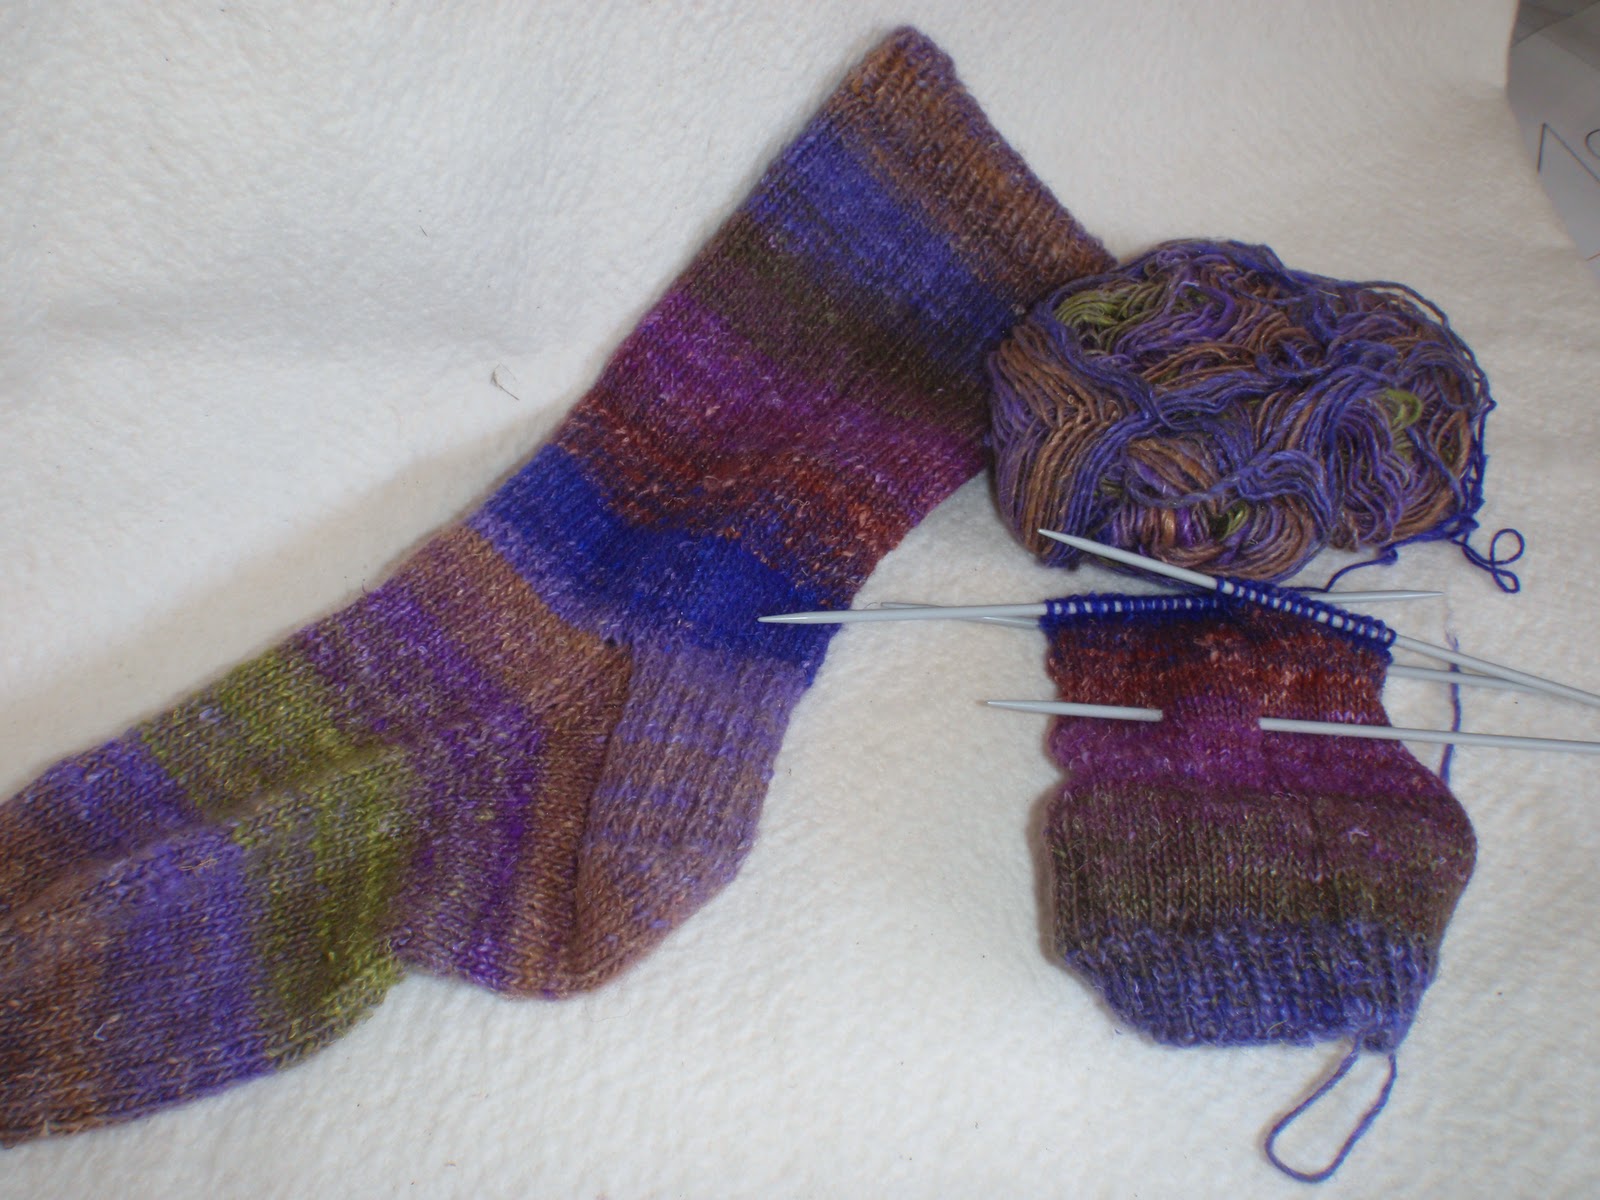
I finished one sock and started the next...


and I've just spent 4 hours in front of the computer reading and commenting on blogs - Gordon Bennett, must do something about that - but I love reading and seeing what others are up to - so check out other Wednesday WIPpers - and Lily's Fresh sewing day - and Lily's small blog meet...whew

Tuesday, 31 January 2012

Twisted tutorial

One of my ideas for the Mouthy Stitches pouch swap was a twisted panel, so I made a practice one.....


I posted it in the Flickr group - and was promptly asked to write a tutorial for it.......of course I had no photos, so I made another one, slightly smaller and took photos as I went along.  This tute shows you how to make one side of a pouch (or a bag, cushion, etc - whatever - the theory can be applied to any project you want to make, you just have to recalculate the sizes) and my side panel is 7" x 12" with a twisted panel, incorporating 5 twists, that finishes around 3.5" square.

Please note this is my first tutorial - so go easy on me!!  This is the same methodology as Quilt-as-you-go and if any of it doesn't make sense, drop me a line and I'll help in any way I can!

What you will need:
  • heavy duty interfacing
  • ruler
  • pencil
  • main fabric (mine is Kona Everglade)
  • scraps of fabric at least 1.5" wide and 5" long (these are for the twists)
  • note - use starch on your fabric - it helps when cutting and piecing
What to cut:
  • heavy duty interfacing, 1 piece, 7" x 12"
  • twist scraps, 5 pieces, 1.5" x 5"
  • main fabric
    • 5 pieces, 1.5" x 5"
    • 4 pieces, 1.25" x 5" (we'll call these the spacers)
    • 1 piece, 5" x 3.5" (this will be trimmed later)
    • 1 piece 5" x 6.5" (this will be trimmed later)
    • 2 pieces, 2.5" x 12" (these will be trimmed later)
 What to do:

1.  Mark up the interfacing with your pencil and ruler:
  • measure in 1.5" from each long side and draw a line
  • measure in 3" from one short side and draw a line
  • from the 3" line, measure and mark a further 4 lines, 3/4" apart
  • set aside 'til later
I got a bit excited and drew one more line than I needed - you only need an extra 4 to the right of the 3" line

2.  Sew your twists:
  •  Using all the fabric pieces sized 1.5" x 5", sew each of the scrap pieces to a main fabric piece down one long side and with a 1/4" seam
I chain pieced these
  • Press open the seams (this makes it easier to get a good edge), then finger press the twists closed along the seam line, wrong sides together and press again

  •  Trim the twists so they are 1" wide and 5" long

Here are the 5 twists ready to go

3.  Piece the panel:
  • Lay the 5" x 3.5" on top of the interfacing, right side uppermost and centred between the top and bottom lines, carefully matching the 3" line and edge stitch to hold

  • Lay your first twist along this line, carefully matching the long raw edges and edge stitch to hold
The twist hasn't been edge stitched in this photo as yet

Now it has...

  • Lay 1 1.25" x 5" spacer on top of the twist, matching raw edges and sew through all thicknesses with a 1/4" seam where you just edge stitched
  • Turn main fabric over to the right and press (the long edge of the folded out spacer should be aligned with the next 3/4" line drawn on the interfacing)
Oops - forgot to take a photo after the first one, but it's just the same all along - here's the 1.25" x 5" spacer folded out after the 2nd twist and ready to be edge stitched 
  • Edge stitch the raw edge
  • Continue adding the twists in this manner until you have stitched down the last one. 
  • You will not have any spacers left, but that's ok, because now you'll use the 5" x 6.5" piece to complete the width of the panel


4.  Create the Twist:
  • from the back of the piece, sew along one of the 1.5" lines to hold your twists in place
I've turned it over so you can see what it should look like

  • fold the other end of each twist to the opposite side and pin to hold
  • Stay stitch along the 1.5" line at the bottom to hold
the panel is looking a bit wonky now, but don't fret - it sorts itself out eventually!

5.  Complete the panel:
  • Sew the remaining main fabric pieces (12" x 2.5") to the top and bottom of the panel and press open
  • Trim the panel and use as you like....

Let me know if you have a go....and I'm linking up to Tutorial Tuesday over at Lawson and Lotti's

Sunday, 29 January 2012

Winter/Summer stitching progress

I think the last couple of posts have just about covered the things I've crossed off my list so far - the remaining ones, which or may not get done because summer has truly arrived and the pool is getting more of a workout then my sewing machine..


  • Dye fabrics using sun, disperse and procion dyes and USE THE FABRIC!


    • using the procion dyed fabric as my base for the QAYGFMQQAL, but haven't yet bought any sun dyes or properly used the dispersed dye 'thing' I started a month ago.  My textiles course starts on the 10th Feb so suspect this item will very much be covered by that

  • Keep up with Oz Bee


    •  first month block completed and sent.  Feb block not yet made but have the instructions - all ok so far..

  • Make Drunkards Path quilt


    • not even on the radar just yet

  • Make layer cake quilt


    • Vacillating between a Momo layer cake and a Cape Ann layer cake - will sort it out soonish I hope

  • Make Sanctuary Squares quilt


    • I'm thinking that the grey and citrus garden quilt fabrics will be used for this quilt as well - as I seem to have accumulated a lot of greys and citrus!  Will have to get off duff and start this soonish too

  • Make Swoon quilt


    • no progress other than I originally thought I'd make this my oz bee block - but have decided against it - might use my terrain gift on this one - still procrastinating..

  • Make grey and citrus garden quilt


    • as above re the sanctuary squares quilt - must get off duff.....

  • Quilt Dancing with the Stars


    • next one to be loaded on the long-arm - haven't done so yet as it needs a good press and it's too hot!
    pop by at FairyFace Designs to see how others are progressing.....