I've been doing lots of reports and project plans and stuff in readiness for two exhibitions myself and my fellow textile artist students are going to hold in January 2014 and May 2014. Seems like miles away but it's about now that publications need information for magazines coming our around that time, not to mention I have at least 6 pieces to make......and......sometimes, you just have to stop, get up, plant some veggies (which I have done - love Spring - and the Fat Bastard purple asparagus I thought I'd killed has popped up everywhere - bliss!) and sew something simple.
I was with my sister the other day, in Ikea, and she mentioned she needed a make-up bag. The one's at Ikea were quite cute and very cheap, but she didn't want hot pink (the only one in that size) so of course I said, "You're kidding, that's what I do...." (well, they're cute, but not cheap and I can make one that's not hot pink)
So, instead of writing a magazine article and updating my project plan (and 50,000,000 other things), I made a little pouch for my sister. A little Echino, some Kona and a pretty zip. Done...
Right, back to it then......
Showing posts with label pouch. Show all posts
Thursday, 12 September 2013
Friday, 22 February 2013
Getting closer...
So I made the 100 items - bit later than I anticipated, but life does intrude hmmm??
Now just have to make the banner, buy the bags, have a mock run, sort out the display............
I was supposed to have this baby quilt/play mat ready too, but I put a narrow red border on it and it needs another - I just don't know what - so it's hanging off my long-arm until inspiration strikes....
So it's Friday and I'm off to school - and we're doing screen printing today - bit excited about that...
Now just have to make the banner, buy the bags, have a mock run, sort out the display............
| matching soft baskets - beautiful printed linen with a solid lining |
| wee pouch, fully lined, using Prints Charming offcuts |
| a mix of fabrics, featuring prints from Oz designer, Saffron Craig |
Thursday, 14 February 2013
Sewing, sewing, sewing...
In between keeping up with my Textile Art Diploma course requirements (creating a repeat design using hand carved stamps),
preparing sessions for my Community Classes (my themes this semester are Colour Theory and Techniques),
and other sundry domestic chores,
including removal of some water hyacinth from the fish pond - but that had to stop when I was bitten by a very large, and very aggressive bullant....
I have been organising business cards and advertising postcards, and sewing up a storm for my upcoming stall at Red Hill Market on 2nd March...
There's still a few other admin type issues to sort out (source and buy paper bags, signage, still need to finalise the display etc etc) and I want to have 100 items for sale - so I have another 20 to make........
Best get back to it......
preparing sessions for my Community Classes (my themes this semester are Colour Theory and Techniques),
and other sundry domestic chores,
including removal of some water hyacinth from the fish pond - but that had to stop when I was bitten by a very large, and very aggressive bullant....
I have been organising business cards and advertising postcards, and sewing up a storm for my upcoming stall at Red Hill Market on 2nd March...
| large cushion cover with zipped opening |
| boxy, zipped pouches |
| journal covers |
| cushion cover with buttoned opening |
Best get back to it......
Thursday, 14 June 2012
Bee blocks.......and lots of other stuff....
It seems like forever that I posted - in reality, it's been a week, but not getting on the computer everyday makes such a difference - the 'To be read' list of posts from the uber talented I follow continue to circle the globe and I don't seem to be making any dent in it with the paltry time I'm 'allowing' myself - hopefully all will change next term (this term really has been very busy and I'm hoping it's not indicative of the rest of the course)
So, I got up early, read a couple of posts and thought I'd quickly add what's been happening around here....
A couple of Bee blocks, the first for the Australia Bee....
The next couple are for do.good Stitches - Melissa sent the pink dot for the final round and the rest we contributed...
These blocks have been sent off to their respective bee mamas.
In other news, the ladies in my classes have been busily sewing away their projects of the month...
A couple of days ago I dyed some fabric to use for the stitched piece for school - the brief is titled 'colours of our lives' and I'm going red....reddish.....what the??
So, time to go......today I'm mounting samples of fabrics dyed with various dye mediums (sun dyes, RIT dyes and Landscape dyes) and I really must make a start on the reports.......arrivederci...
So, I got up early, read a couple of posts and thought I'd quickly add what's been happening around here....
A couple of Bee blocks, the first for the Australia Bee....
| such a pretty block |
![]() |
| The final pink round on the second one actually matches the first for colour - so the saturation you see is a bit exagerated! |
These blocks have been sent off to their respective bee mamas.
In other news, the ladies in my classes have been busily sewing away their projects of the month...
| The gorgeous Barb - and it's the very first thing she has ever made - love that beaming 'I made it myself' smile.. |
![]() |
| This months project - a zipped, lined pouch - they did a fabulous job..... |
| Buster had to get himself in the photo again - this time his 'other' end |
Tuesday, 22 May 2012
Stitching by hand
In between sewing by machine and putting some hand quilting on my sisters hexy quilt, I've been creating a couple of samples for my Diploma. This term we're studying colour theory and I for one did not know there was soooo much written about colour - it's truly fascinating - so we've been cutting and pasting and painting and colouring and stitching........
Last week was red and fly stitch.......
This week was blue and french and colonial knots.....
Next week is yellow and buttonhole stitch, so that'll be interesting.
While I was faffing about today, I made up next month's project for my classes - and we're going to make a zipped, lined pouch - I stuffed up the base though - made it too wide, so will have to make it again - I also have to write the instructions - I'm supposed to be doing that right now but I got distracted ;)
Last week was red and fly stitch.......
This week was blue and french and colonial knots.....
| I found out on Sunday that I've been sewing french knots incorrectly - oops - but then I was shown how to do a colonial knot which results in a larger knot, so fills in more space - scores!!! |
Next week is yellow and buttonhole stitch, so that'll be interesting.
While I was faffing about today, I made up next month's project for my classes - and we're going to make a zipped, lined pouch - I stuffed up the base though - made it too wide, so will have to make it again - I also have to write the instructions - I'm supposed to be doing that right now but I got distracted ;)
Thursday, 8 March 2012
Class Mug Bag
I teach sewing/patchwork at 2 local Community Houses and we have a project every month - we've actually just kicked it off and the very first project was a little bag to hold your mug - it protects the mug when you take it to class. I don't know where the pattern originated - I just rejigged the instructions (which were simply typed on a piece of A4 paper) to make them a little easier to understand. Well, my gorgeous ladies have been beavering away at their mug bags and they've created a riot of colour...
The ladies did a wonderful job - and we're now onto our second project.
The second project takes the dilly bag created by Jeni of In Color Order (and generously shared by her through a tute on her blog) and I've added a foundation pieced panel - the ladies wanted to have a go at foundation pieceing on a small project...
I'm really enjoying the classes - the ladies are wonderfully enthusiastic - and they're very forgiving if how I teach something doesn't work for them - I'm actually searching out all my notes made when learning all about adult education (it was soooo long ago!) so that I can incorporate new methods. I'm loving my new life!
| Some opted for a pieced centre - and there was a lot of vintage buttons used - sensational |
| One lady supersized the dimensions to make a tote bag - the original size is on the right - way to go Mary! |
The second project takes the dilly bag created by Jeni of In Color Order (and generously shared by her through a tute on her blog) and I've added a foundation pieced panel - the ladies wanted to have a go at foundation pieceing on a small project...
I'm really enjoying the classes - the ladies are wonderfully enthusiastic - and they're very forgiving if how I teach something doesn't work for them - I'm actually searching out all my notes made when learning all about adult education (it was soooo long ago!) so that I can incorporate new methods. I'm loving my new life!
Tuesday, 6 March 2012
Look what arrived from the Netherlands....
It's been 2 weeks since I last blogged - I have been seriously busy and completely aware of how hopeless I am when I get online - time wasting research tends to eat up my time and I am finding my time is at a premium these days so I banned myself from induging - we'll see if I can be a little more disciplined so that I can view a few blogs I love to read, and comment where appropriate.......
....and I just had to get online today because I received a wonderful gift from Eva-Marie in the Netherlands - my Mouthy Stitches pouch was stuffed into my post box today....
It's roomy - holds all my hand sewing things - it's beautifully finished with hand quilting, zip ends and a zip pull, it's got pockets inside, it's perfect for me and it's ALL mine...
I've sent an email off to Eva-Marie to say thank you - I'm very, very happy with this pouch........and a big thank you to Susan, Hadley and Cindy for organising the swap - excellent Mama's....
....and I just had to get online today because I received a wonderful gift from Eva-Marie in the Netherlands - my Mouthy Stitches pouch was stuffed into my post box today....
It's roomy - holds all my hand sewing things - it's beautifully finished with hand quilting, zip ends and a zip pull, it's got pockets inside, it's perfect for me and it's ALL mine...
I've sent an email off to Eva-Marie to say thank you - I'm very, very happy with this pouch........and a big thank you to Susan, Hadley and Cindy for organising the swap - excellent Mama's....
Monday, 6 February 2012
Mouthy Stitches pouch swap - 'Mulleting around the twist' - finished!
The pouches showing up on the Flickr site for this swap are amazing - the expertise, skill and inspiration evident from all the swappees is amazing - and their willingness to go that extra little bit in terms of finish is just awesome...I'm in some seriously amazing company...so obviously all stops needed to be pulled....
I stalked my secret partner - examined her mosaic, read up on her blog and carefully monitored her comments on photos in the group - and concluded my partner has eclectic tastes - I concluded a few other things too but if I write them down, it'll be very easy to identify her - so I'll keep those to myself..
From there I shared a few ideas, some of which weren't enthusiastically received, so changed things around, added some other colours, took some out, thought a bit more......and came up with 'Mulleting Around the Twist'.....
The front is reasonably formal, a little pleating (with a few buttoned up twists), a little stitchery.....but......in true mullet fashion, there's a party going on in the back...
A whirlpool of patterns and a tickertape 'Sew around the twist'.
The inside is fully lined...
So on the days my secret partner feels a little formal or in need of a little calm, the front of the pouch can be facing her - and the little twists can entice her to do a flip and have a party, if that is her want - best of both worlds?
I really hope my partner likes it - it was fun to do, a bit of a challenge and now all that's left is to add some scraps and get it in the post.
I stalked my secret partner - examined her mosaic, read up on her blog and carefully monitored her comments on photos in the group - and concluded my partner has eclectic tastes - I concluded a few other things too but if I write them down, it'll be very easy to identify her - so I'll keep those to myself..
From there I shared a few ideas, some of which weren't enthusiastically received, so changed things around, added some other colours, took some out, thought a bit more......and came up with 'Mulleting Around the Twist'.....
The front is reasonably formal, a little pleating (with a few buttoned up twists), a little stitchery.....but......in true mullet fashion, there's a party going on in the back...
A whirlpool of patterns and a tickertape 'Sew around the twist'.
The inside is fully lined...
So on the days my secret partner feels a little formal or in need of a little calm, the front of the pouch can be facing her - and the little twists can entice her to do a flip and have a party, if that is her want - best of both worlds?
I really hope my partner likes it - it was fun to do, a bit of a challenge and now all that's left is to add some scraps and get it in the post.
Thursday, 2 February 2012
Wednesday, again??? - and it's now Thursday even...
These weeks are sneaking up on me - can't believe it's WIP wednesday again - which was actually yesterday - so 'Thought it was Wednesday Thursday' then?
I haven't even redone my WIP list, so it's going to be a bit of mish-mash til I can get myself organised.
I had a couple of finishes...
I finished my mouthy stitches pouch but I can't show it as it's a secret - but I can show a detail of it...
I did some more on my hexy quilt border..
I made a couple of blocks for the Cherish do.good stitches February quilter...
I made another little mug bag to show my wednesday ladies that you can make the little bag with whatever scraps you have leftover...
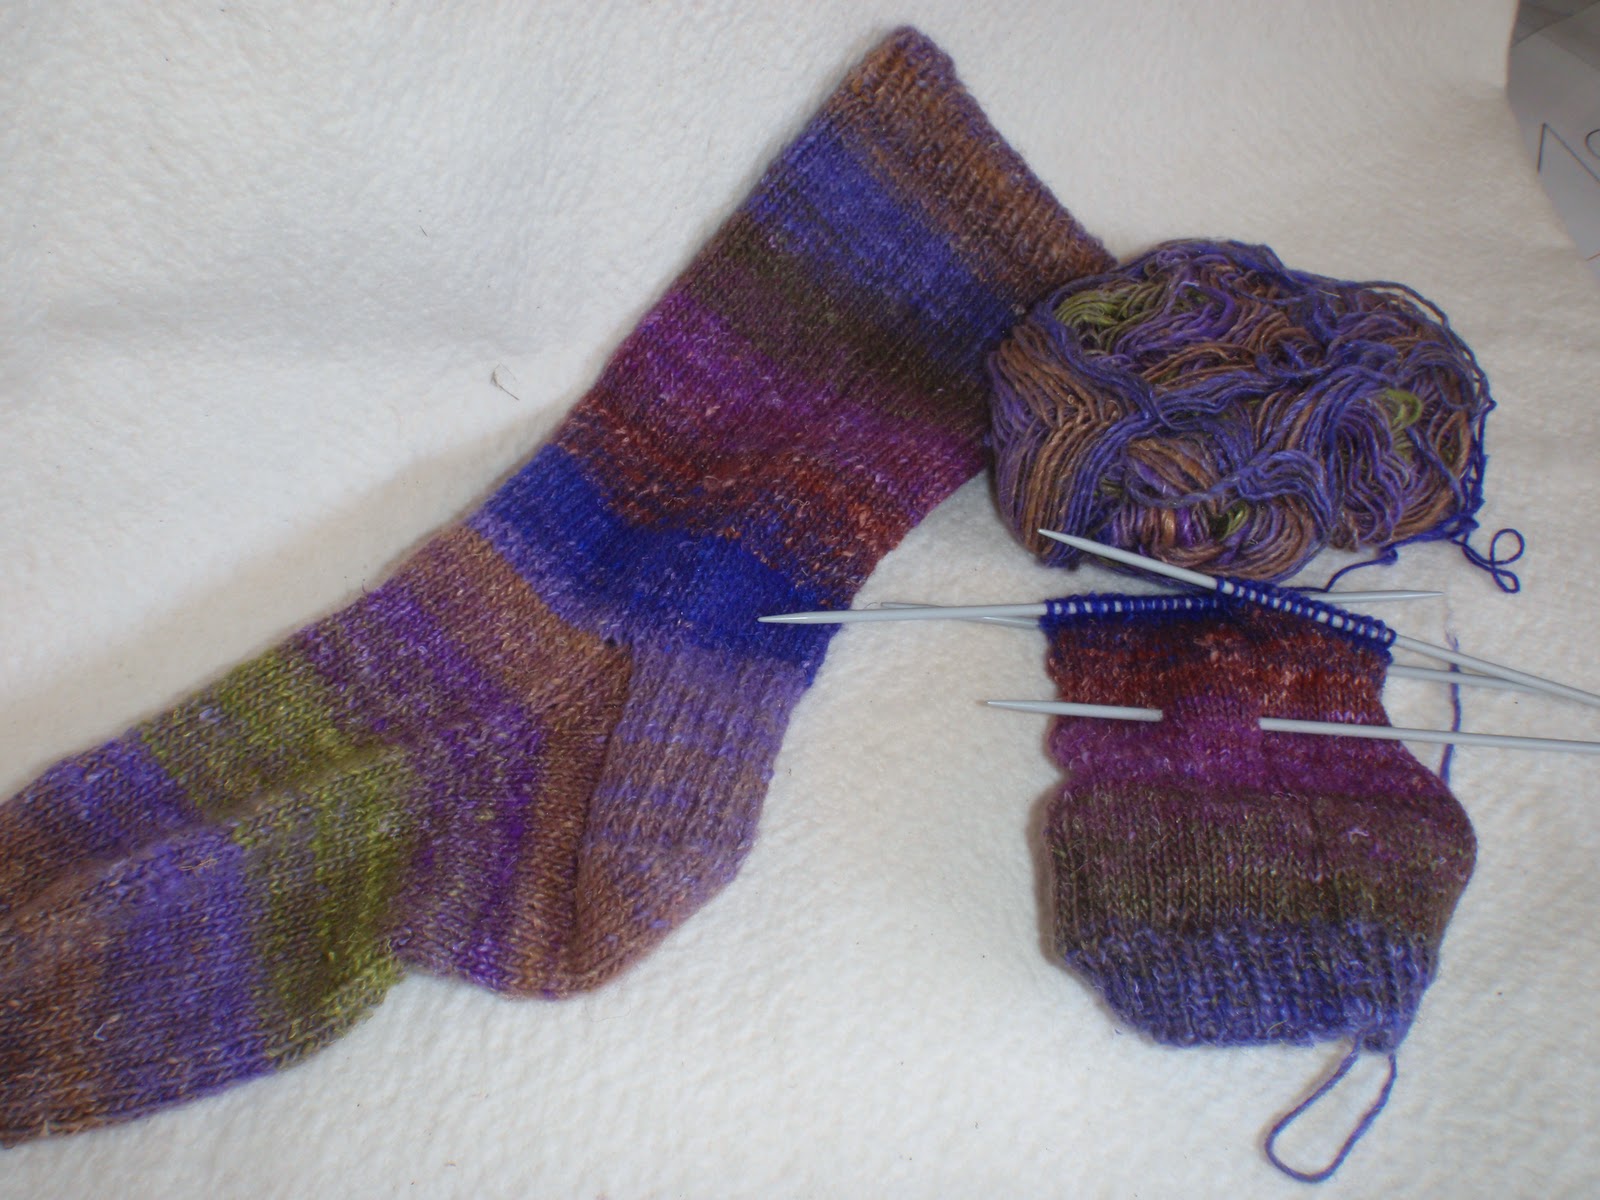
I finished one sock and started the next...
and I've just spent 4 hours in front of the computer reading and commenting on blogs - Gordon Bennett, must do something about that - but I love reading and seeing what others are up to - so check out other Wednesday WIPpers - and Lily's Fresh sewing day - and Lily's small blog meet...whew
I haven't even redone my WIP list, so it's going to be a bit of mish-mash til I can get myself organised.
I had a couple of finishes...
| from the UFO bin - gift for a friend who will faint when it's presented! |
| ...and a I wrote a tutorial as to how to do the twists - it's my previous post |
I made a couple of blocks for the Cherish do.good stitches February quilter...
| love this - might have to make a quilt myself! |
| and forgive me, I stitched a little counted cross stitch teacup... |
and I've just spent 4 hours in front of the computer reading and commenting on blogs - Gordon Bennett, must do something about that - but I love reading and seeing what others are up to - so check out other Wednesday WIPpers - and Lily's Fresh sewing day - and Lily's small blog meet...whew
Tuesday, 31 January 2012
Twisted tutorial
One of my ideas for the Mouthy Stitches pouch swap was a twisted panel, so I made a practice one.....
I posted it in the Flickr group - and was promptly asked to write a tutorial for it.......of course I had no photos, so I made another one, slightly smaller and took photos as I went along. This tute shows you how to make one side of a pouch (or a bag, cushion, etc - whatever - the theory can be applied to any project you want to make, you just have to recalculate the sizes) and my side panel is 7" x 12" with a twisted panel, incorporating 5 twists, that finishes around 3.5" square.
Please note this is my first tutorial - so go easy on me!! This is the same methodology as Quilt-as-you-go and if any of it doesn't make sense, drop me a line and I'll help in any way I can!
What you will need:
1. Mark up the interfacing with your pencil and ruler:
2. Sew your twists:
3. Piece the panel:
4. Create the Twist:
5. Complete the panel:
Let me know if you have a go....and I'm linking up to Tutorial Tuesday over at Lawson and Lotti's
I posted it in the Flickr group - and was promptly asked to write a tutorial for it.......of course I had no photos, so I made another one, slightly smaller and took photos as I went along. This tute shows you how to make one side of a pouch (or a bag, cushion, etc - whatever - the theory can be applied to any project you want to make, you just have to recalculate the sizes) and my side panel is 7" x 12" with a twisted panel, incorporating 5 twists, that finishes around 3.5" square.
Please note this is my first tutorial - so go easy on me!! This is the same methodology as Quilt-as-you-go and if any of it doesn't make sense, drop me a line and I'll help in any way I can!
What you will need:
- heavy duty interfacing
- ruler
- pencil
- main fabric (mine is Kona Everglade)
- scraps of fabric at least 1.5" wide and 5" long (these are for the twists)
- note - use starch on your fabric - it helps when cutting and piecing
- heavy duty interfacing, 1 piece, 7" x 12"
- twist scraps, 5 pieces, 1.5" x 5"
- main fabric
- 5 pieces, 1.5" x 5"
- 4 pieces, 1.25" x 5" (we'll call these the spacers)
- 1 piece, 5" x 3.5" (this will be trimmed later)
- 1 piece 5" x 6.5" (this will be trimmed later)
- 2 pieces, 2.5" x 12" (these will be trimmed later)
1. Mark up the interfacing with your pencil and ruler:
- measure in 1.5" from each long side and draw a line
- measure in 3" from one short side and draw a line
- from the 3" line, measure and mark a further 4 lines, 3/4" apart
- set aside 'til later
| I got a bit excited and drew one more line than I needed - you only need an extra 4 to the right of the 3" line |
2. Sew your twists:
- Using all the fabric pieces sized 1.5" x 5", sew each of the scrap pieces to a main fabric piece down one long side and with a 1/4" seam
| I chain pieced these |
- Press open the seams (this makes it easier to get a good edge), then finger press the twists closed along the seam line, wrong sides together and press again
- Trim the twists so they are 1" wide and 5" long
| Here are the 5 twists ready to go |
3. Piece the panel:
- Lay the 5" x 3.5" on top of the interfacing, right side uppermost and centred between the top and bottom lines, carefully matching the 3" line and edge stitch to hold
- Lay your first twist along this line, carefully matching the long raw edges and edge stitch to hold
| The twist hasn't been edge stitched in this photo as yet |
| Now it has... |
- Lay 1 1.25" x 5" spacer on top of the twist, matching raw edges and sew through all thicknesses with a 1/4" seam where you just edge stitched
- Turn main fabric over to the right and press (the long edge of the folded out spacer should be aligned with the next 3/4" line drawn on the interfacing)
| Oops - forgot to take a photo after the first one, but it's just the same all along - here's the 1.25" x 5" spacer folded out after the 2nd twist and ready to be edge stitched |
- Edge stitch the raw edge
- Continue adding the twists in this manner until you have stitched down the last one.
- You will not have any spacers left, but that's ok, because now you'll use the 5" x 6.5" piece to complete the width of the panel
4. Create the Twist:
- from the back of the piece, sew along one of the 1.5" lines to hold your twists in place
| I've turned it over so you can see what it should look like |
- fold the other end of each twist to the opposite side and pin to hold
- Stay stitch along the 1.5" line at the bottom to hold
| the panel is looking a bit wonky now, but don't fret - it sorts itself out eventually! |
5. Complete the panel:
- Sew the remaining main fabric pieces (12" x 2.5") to the top and bottom of the panel and press open
- Trim the panel and use as you like....
Let me know if you have a go....and I'm linking up to Tutorial Tuesday over at Lawson and Lotti's
Subscribe to:
Posts (Atom)
.jpg)
.jpg)